Custom executor
You can extend Botkube functionality by writing custom executor plugin. An executor allows you to run a given command directly in the chat window of each communication platform. For example, running kubectl or helm commands.
Plugin executor is a binary that implements the executor Protocol Buffers contract.
Goal
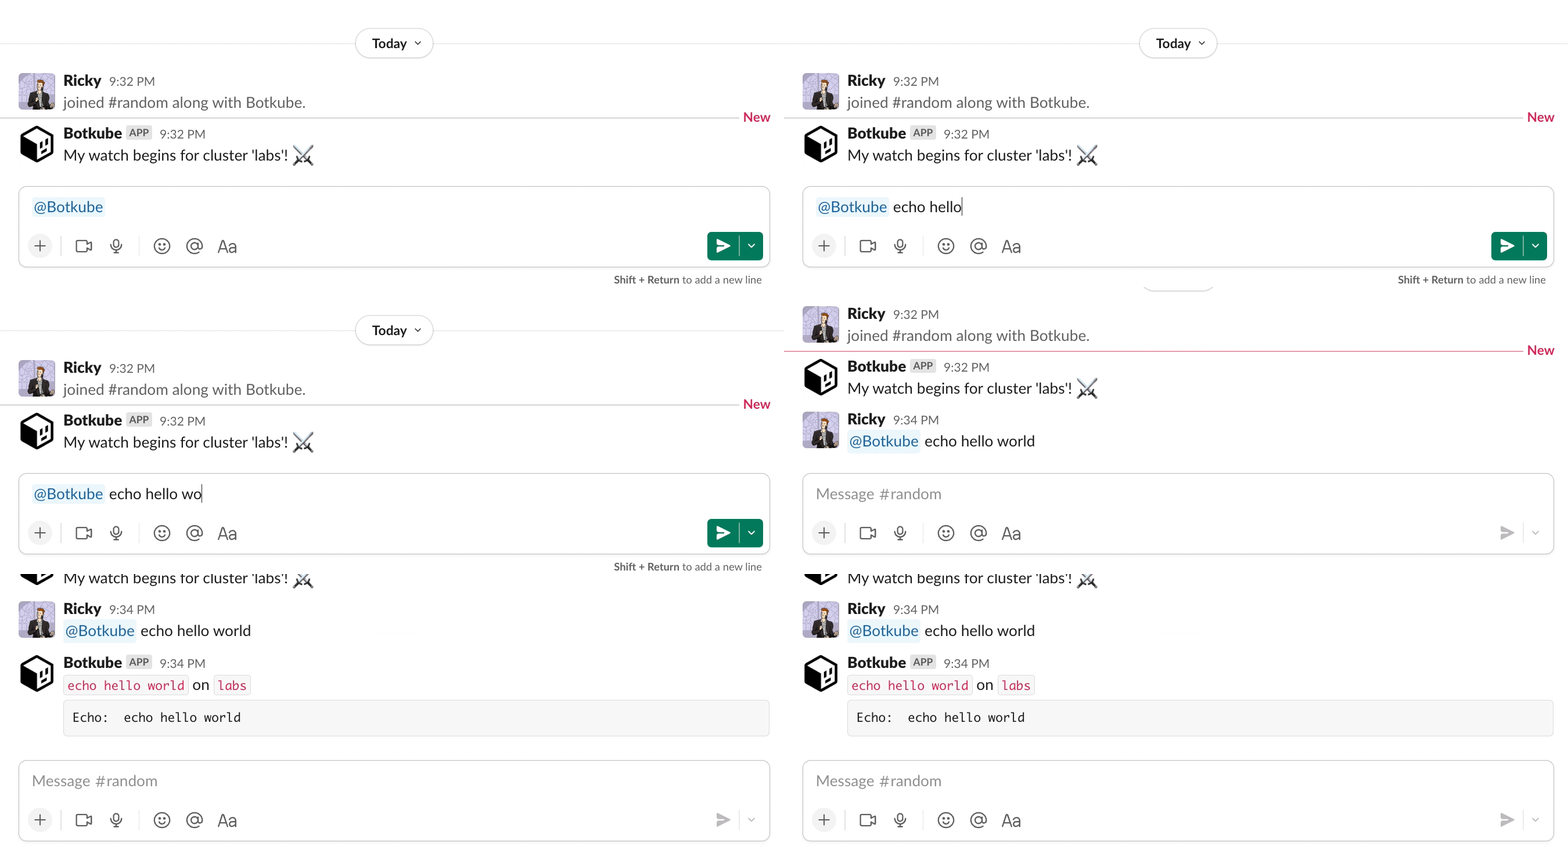
This tutorial shows you how to build a custom echo executor that responds with a command that was specified by the user in a chat window.

For a final implementation, see the Botkube template repository.
Prerequisites
- Basic understanding of the Go language.
- Go at least 1.18.
- See go.mod for the recommended version used by Botkube team.
- GoReleaser at least 1.13.
Develop plugin business logic
Create an executor plugin directory:
mkdir botkube-plugins && cd botkube-pluginsInitialize the Go module:
go mod init botkube-pluginsCreate the
main.gofile for theechoexecutor with the following template:cat << EOF > main.go
package main
import (
"context"
"fmt"
"github.com/MakeNowJust/heredoc"
"github.com/hashicorp/go-plugin"
"github.com/kubeshop/botkube/pkg/api"
"github.com/kubeshop/botkube/pkg/api/executor"
)
// EchoExecutor implements the Botkube executor plugin interface.
type EchoExecutor struct{}
func main() {
executor.Serve(map[string]plugin.Plugin{
"echo": &executor.Plugin{
Executor: &EchoExecutor{},
},
})
}
EOFThis template code imports required packages and registers
EchoExecutoras the gRPC plugin. At this stage, theEchoExecutorservice doesn't implement the required Protocol Buffers contract. We will add the required methods in the next steps.Download imported dependencies:
go mod tidyAdd the required
Metadatamethod:// Metadata returns details about the Echo plugin.
func (*EchoExecutor) Metadata(context.Context) (api.MetadataOutput, error) {
return api.MetadataOutput{
Version: "1.0.0",
Description: "Echo sends back the command that was specified.",
JSONSchema: api.JSONSchema{
Value: heredoc.Doc(`{
"$schema": "http://json-schema.org/draft-04/schema#",
"title": "echo",
"description": "Example echo plugin",
"type": "object",
"properties": {
"formatOptions": {
"description": "Options to format echoed string",
"type": "array",
"items": {
"type": "string",
"enum": [ "bold", "italic" ]
}
}
},
"additionalProperties": false
}`),
},
}, nil
}The
Metadatamethod returns basic information about your plugin. This data is used when the plugin index is generated in an automated way. You will learn more about that in the next steps.Ąs a part of the
Metadatamethod, you can define the plugin dependencies. To learn more about them, see the Dependencies document.Add the required
Executemethod:// Execute returns a given command as a response.
func (*EchoExecutor) Execute(_ context.Context, in executor.ExecuteInput) (executor.ExecuteOutput, error) {
return executor.ExecuteOutput{
Message: api.NewCodeBlockMessage(response, true),
}, nil
}The
Executemethod is the heart of your executor plugin. This method runs your business logic and returns the execution output. Next, the Botkube core sends back the response to a given communication platform. If the communication platform supports interactivity, you can construct and return interactive messages containing buttons, dropdowns, input text, and more complex formatting. To learn more about it, see the Interactive Messages guide.For each
Executemethod call, Botkube attaches the list of associated configurations. You will learn more about that in the Passing configuration to your plugin section.Add the required
Helpmethod:// Help returns help message
func (EchoExecutor) Help(context.Context) (api.Message, error) {
btnBuilder := api.NewMessageButtonBuilder()
return api.Message{
Sections: []api.Section{
{
Base: api.Base{
Header: "Run `echo` commands",
Description: description,
},
Buttons: []api.Button{
btnBuilder.ForCommandWithDescCmd("Run", "echo 'hello world'"),
},
},
},
}, nil
}You can use
api.NewCodeBlockMessageorapi.NewPlaintextMessagehelper functions, or construct your own message.
Build plugin binaries
Now it's time to build your plugin. For that purpose, we will use GoReleaser. It simplifies building Go binaries for different architectures. The important thing is to produce the binaries for the architecture of the host platform where Botkube is running. Adjust the goos, goarch, and goarm properties based on your needs.
Instead of GoReleaser, you can use another tool of your choice.
Create the GoReleaser configuration file:
cat << EOF > .goreleaser.yaml
project_name: botkube-plugins
before:
  hooks:
    - go mod download

builds:
  - id: echo
    binary: executor_echo_{{ .Os }}_{{ .Arch }}

    no_unique_dist_dir: true
    env:
      - CGO_ENABLED=0
    goos:
      - linux
      - darwin
    goarch:
      - amd64
      - arm64
    goarm:
      - 7

snapshot:
  name_template: 'v{{ .Version }}'
EOF
Build the binaries:
goreleaser build --rm-dist --snapshot
Congrats! You just created your first Botkube executor plugin! 🎉
Now it's time to test it locally with Botkube. Once you're done testing, see how to distribute it.
Passing configuration to your plugin
Sometimes your executor plugin requires a configuration specified by the end-user. Botkube supports such requirement and provides an option to specify plugin configuration under config. An example Botkube configuration looks like this:
communications:
  "default-group":
    slack:
      channels:
        "default":
          name: "all-teams"
          bindings:
            executors:
              - echo-team-a
              - echo-team-b

executors:
  "echo-team-a": # executor configuration group name
    botkube/echo:
      enabled: true
      config:
        formatOptions: ["italic"]
  "echo-team-b": # executor configuration group name
    botkube/echo:
      enabled: true
      config:
        formatOptions: ["bold"]
This means that two different botkube/echo plugin configurations were bound to the all-teams Slack channel. Under executor.ExecuteInput{}.Configs, you will find the list of configurations in the YAML format as specified under the config property for each bound and enabled executor. The order of the configuration is the same as specified under the bindings.executors property. It's up to the plugin author to merge the passed configurations. You can use our helper function from the plugin extension package (pluginx).
import (
    "context"
    "github.com/kubeshop/botkube/pkg/api/executor"
    "github.com/kubeshop/botkube/pkg/pluginx"
)

// Config holds the executor configuration.
type Config struct {
    FormatOptions []string `yaml:"options,omitempty"`
}

func (EchoExecutor) Execute(_ context.Context, in executor.ExecuteInput) (executor.ExecuteOutput, error) {
    var cfg Config
    err := pluginx.MergeExecutorConfigs(in.Configs, &cfg)
    if err != nil {
        return executor.ExecuteOutput{}, err
    }
    // rest logic
}
Botkube starts only one process of a given executor plugin, and the list of configuration YAMLs can be different per gRPC call, so you shouldn't cache the merged configuration.
Notes
- Streaming command response is not supported. As a result, commands like
helm install --waitdoesn't work well, as the response won't be sent until the command finishes. It's recommended to return the response as soon as possible. - The interactive message is not yet supported.